
The Contractor Checklist
AI helps, but organization is what keeps It on track
Organize It Once. You own It forever
Stop Paying for Apps Your Field Crew Hates.
Build Custom Homes on the Software Everyone Knows.
We teach custom home builders how to run $5M+ projects using Google Workspace. It’s faster, completely customizable, requires zero training for your trades, and belongs to you forever.
When we finish, you don't just give keys; you give a living digital asset matching every serial number, paint code, and subcontractor contact to the exact square foot of your house
The "App Fatigue" is Killing Construction
Every year, a new software company promises to solve your scheduling, selection, and communication problems. Instead, you get:
The Monthly Subscription Bleed:
The Data Trap:
Field Rejection:
Client Friction:
Thousands of dollars down the drain every single year.
If you ever cancel your subscription, you lose the historical data of your builds.
Your guys in the field refuse to use it because it’s too clunky on a phone.
Wealthy clients don't want another app login just to see a progress photo.
The Reality: You don’t need another app. You just need a better structure
inside the Google account you already pay for.
When everything is structured the right way, your team can plug into any technology, easier, and with total control.
High-Tech Office. Low-Tech Field.
Our system turns Google Drive, Docs, and Sheets
into a hyper-efficient, custom project management engine.
The Central Command Sheet
No more digging through 400 emails to find a tile specification. One master spreadsheet acts as the hub for your entire build, linking out to dedicated scope, budget, and selection pages that update in real-time.
QR-Coded Field Execution
We bridge the gap between the office and the field. Print a QR code, stick it on the jobsite trailer or the framing wall, and let your crew pull up the exact, live Google Doc detail page on their phones in one tap.
Built for the Age of AI
Proprietary apps hide your data behind code. Google Docs and Sheets keep your project history flat and readable. When you run your business on Google, you are setting yourself up to use custom AI models that can read your history and estimate your next job in seconds.
Close More Jobs with the "Digital Home Manual"
When you build a custom home using our Google structure, you aren't just building a house—you are building a digital asset.
At closing, you don't hand your client a giant binder of loose paperwork or a login to a software portal they'll lose access to.
You transfer ownership of a beautifully structured, hyperlinked Google Drive folder.
Every paint code, every appliance serial number, every subcontractor contact, and every warranty document is organized to the exact square foot of their house. This is a premium closing gift that helps you win your next multi-million dollar bid.
Choose Your Blueprint
Every year, a new software company promises to solve your scheduling, selection, and communication problems. Instead, you get:
The Checklist & Templates
Get the exact Google Sheet templates and frameworks used to run multi-million dollar custom builds.
The Implementation Engine
We build the entire Google Workspace structure for your specific business and train your office manager.
The Custom Masterclass
1-on-1 consulting completely unique to your custom build and style of learning
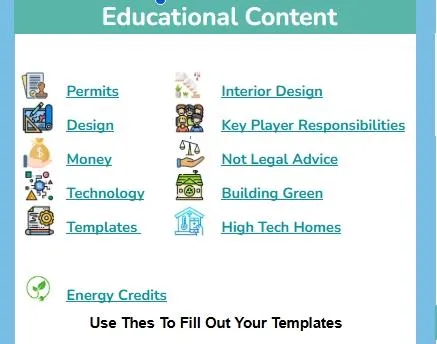
Start with the free Contractor Checklist, resource hubs, and templates to get organized right away.
When you’re ready, book a paid consultation for personalized guidance.
Every consultation helps us keep building and sharing free resources for the entire community.
STILL NOT SURE?
Frequently Asked Questions
It's all about organization, education, and systems.
What is The Contractor Checklist?
The Contractor Checklist is a simple system that helps you organize every decision, document, and detail of your construction project in one place.
Instead of scattered emails, notes, and apps, everything is structured into a clear, step-by-step format using tools like Google Docs and Google Sheets. This creates a single source of truth that everyone involved—homeowner, contractor, architect, and project manager—can follow.
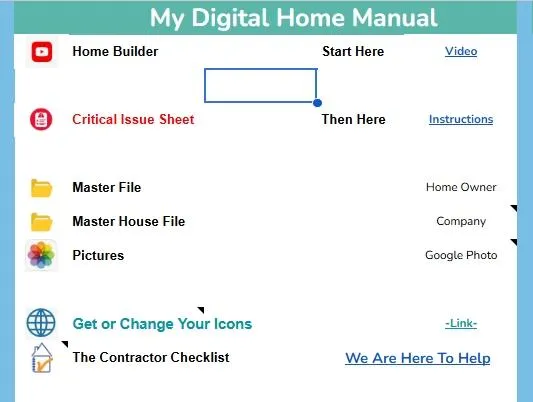
What is a Digital Home Manual?
A Digital Home Manual is a centralized system where you store and manage everything about your home or project.
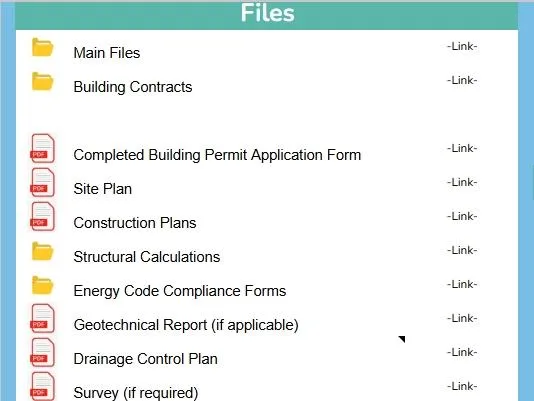
It includes:
-Selections and finishes
-Product links and specifications
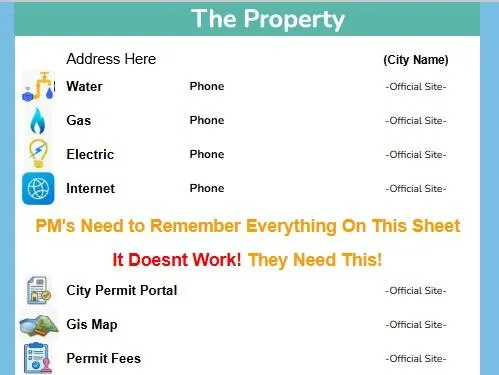
-Contractor and contact information
- Warranties and manuals
-Photos and progress documentation
-Notes, decisions, and change tracking
It replaces the need to search through emails, texts, and paperwork by keeping everything in one organized location you own and control.
How is this different from construction apps and software?
Most construction apps try to manage your project inside their system.
The Contractor Checklist does the opposite:
-You build your system first (low-tech)
-Then you can plug it into any app or software later
This gives you:
-More control
- Better clarity
-Faster adoption of technology
-Consistent results across any platform
You’re not dependent on one tool—you own the structure.
Who is this for?
This system is designed for:
- Homeowners preparing to build or remodel
-Project Managers running custom home projects
-Contractors who want better organization and consistency
- Architects and designers coordinating detailed decisions
-Anyone who wants to reduce mistakes and wasted time
If your project involves a lot of moving parts, this system simplifies it.
How does this help reduce mistakes and save money?
Most mistakes happen because information is:
-Miscommunicated
-Not documented clearly
By organizing everything in one place:
-Decisions are tracked and visible
-Changes are clearly marked
-Everyone works from the same information
This reduces rework, delays, and confusion—saving both time and money throughout the project.
Do I need construction experience to use this?
No.
The system is designed to guide you step-by-step. Even if you’re new to construction, it helps you:
-Ask better questions
-Understand what decisions need to be made
-Stay organized throughout the process
It becomes a learning tool as much as an organizational system.
How does this help me work with my contractor or team?
Instead of relying on back-and-forth emails and conversations, you have a shared reference point.
Your team can:
-See updated selections and details
-Track decisions in real time
-Avoid repeated questions
-Stay aligned on scope and expectations
It creates clearer communication and smoother coordination across everyone involved.
Can I customize the system for my project?
Yes—that’s the entire point.
The templates give you a starting structure, but you can:
-Add your own categories
-Modify layouts
-Include your own notes and preferences
-Expand it as your project grows
Over time, it becomes your personal system, not just a template.
What happens after my project is finished?
Your system doesn’t go away—it becomes your long-term home manual.
You’ll have:
-All product information and warranties
-Maintenance records
-Contractor contacts
-A complete history of your home
This makes future repairs, upgrades, and resale significantly easier and more valuable.
How does this improve the value of my home?
A well-documented home is more valuable because:
-Buyers trust documented work
-Maintenance history is clear
-Materials and systems are known
-Future work is easier to plan
Instead of guessing what’s behind the walls or what was installed, everything is organized and accessible.
Why start with a simple, low-tech system?
Because clarity comes before technology.
If your information is disorganized, software won’t fix the problem—it will just hide it.
By starting simple:
-You understand your project better
-You build a solid foundation
T-echnology becomes more effective when you use it
This approach makes every tool you use later more powerful.
Need Help from A Real Professional?
Want someone to work with us?
We are always looking for experts to team up with.
Send us an email and we’ll get back to you shortly.
We Build Custom Homes Around Seattle WA
This Is Our System.

Copyright 2026 | The Contractor Checklist | All Rights Reserved